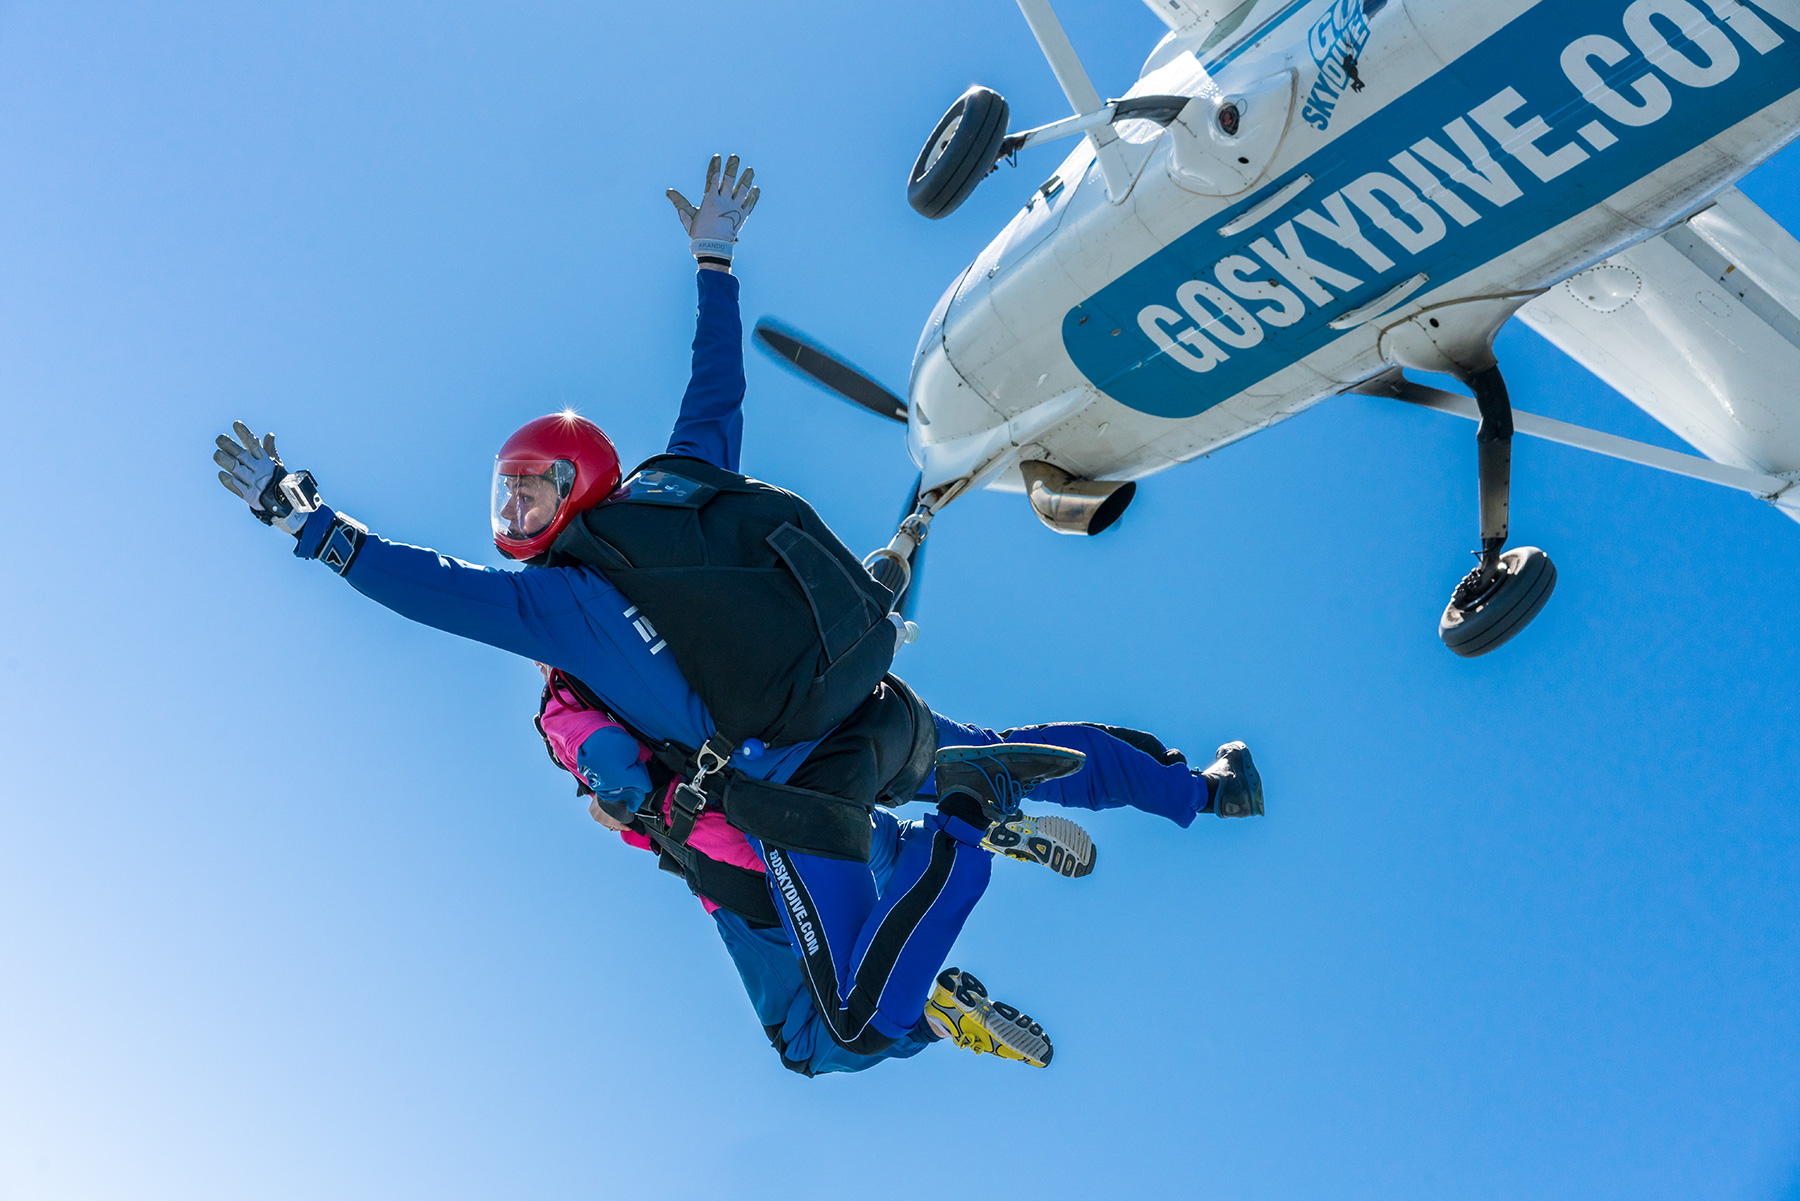
So you’re a budding photographer and an experienced skydiver. What could be more perfect than joining your two hobbies into one spectacular adrenaline rush?
For some, nothing can beat the thrill of photographing your friends as they plunge toward Earth at 200kmph. But doing so isn’t as simple as just hoisting your iPhone into the air with you and doing a quick bit of filming on the way down. Becoming even an amateur skydiver/cameraman takes time, effort and a lot of talent.
Experience Required
The first thing to note is that not everybody can take a camera with them up into the sky. For one thing, beginner skydivers shouldn’t be distracted by looking for the right shot. For another, not everyone is experienced enough to deal with the pitfalls thrown up by filming in the air.
In the UK, you will need to have at least a C certificate before you can film while skydiving. Usually, this means you’ll have undertaken at least 200 jumps. In other words, you’ll be far from being a newbie. This is important because a beginner who has their mind elsewhere can be a danger to both themselves and everyone else in the sky. At C certificate stage, you’ll know how to handle yourself.
Equipment Required
Obviously, the first thing you’ll need will be camera. Ideally, you want to be looking at an affordable, lightweight model. Bear in mind you’ll probably be wearing this on your helmet, so don’t plump for anything that’s in any way heavy.
Another thing to bear in mind is that you will need to store your footage on the camera, the best way to do this is by using a memory card, not only is this the most common method and so will allow for easy exporting when by the computer but it also allows for the quickest turnaround in case you are called upon with the camera again.
Another essential piece of kit is a wide-angle lens. On a normal lens, your vision will likely be too restricted to get truly spectacular shots. A wide-angle will allow you to capture the majesty of the empty, cold world around you and your friends tumbling through it.
Finally, you’ll need a specialist helmet and an altimeter. Ideally, your helmet should completely enclose your camera to minimise the risk of damage to equipment; while your altimeter should be capable of alerting you even when you’re completely in the filming zone.
Techniques
So you’ve got your C certificate, your specialist equipment and you’re ready to jump. There’s one last thing to consider: techniques. If you want to get the best video of your jump possible you’ll need to bear a few things in mind.
The first thing to think about is lighting. Most people like the idea of getting below their fellow jumpers and shooting up at them as they fall. Yet this often results in the sun glaring directly into camera, reducing your friends to anonymous shadows. No matter what you’re doing in the air, try and position yourself in relation to the sun to get the best shots, whether that’s you circling the jumper or flying above or below.
Finally, think how each shot will go together in the edit. You can make a much more entertaining video if you give a sense of progression and story to your edit with pre and post jump interviews.
That’s it: the basics of becoming a camera flyer. If you’re interested, ask others you know for further advice before getting started. It’s not for everyone, but filming a magical moment as you fall can be the most-rewarding experience skydiving has to offer.
